Thursday, July 1, 2010

Creating a New Android Project using Eclipse - ADT plugin

Summary:
Creating an ANDROID project basically involves
1. Creating an virtual device for emulating a physical mobile device
2. Creating a New Project

Important points:
Android programs are Java programs- so Java package naming conventions apply.
User-interface components can be created programmatically and declaratively.
However, best-practices suggest separating the view presentation layer from the logic layer.
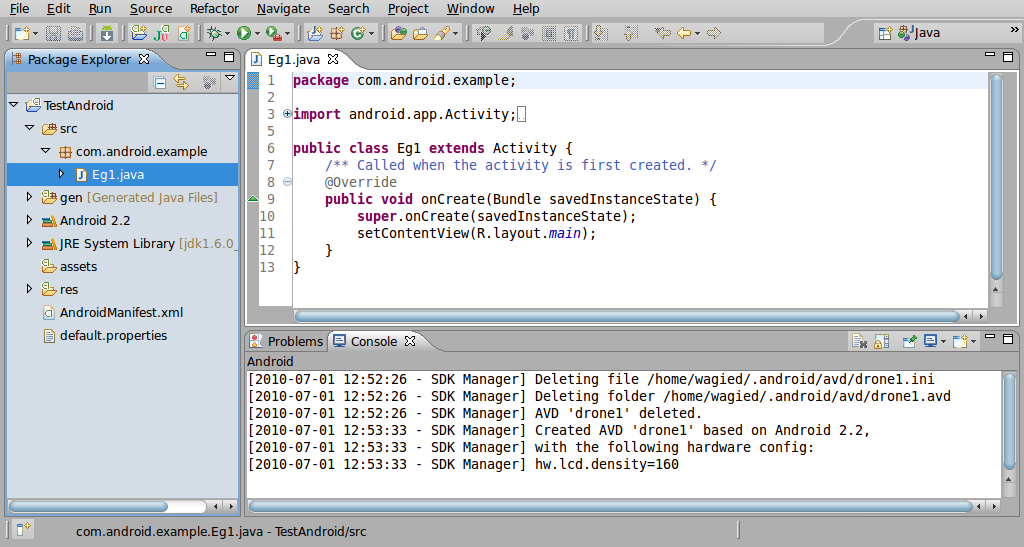
The main entry point: A class which extends the Activity super class (simplest case) containing a function called onCreate( Bundle bunde)
Data-binding occurs via an automatically generated R.java file for accessing variables from *.xml based files.

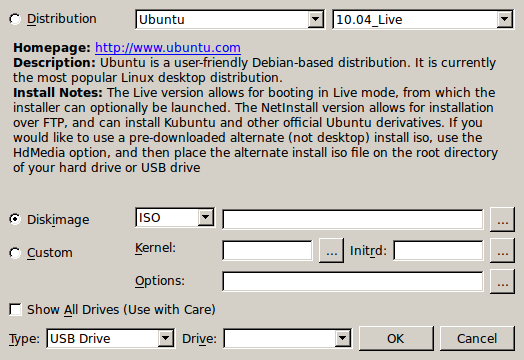
1. Create an AVD - Android Virtual Device by clicking on the Android-ICON


Specify details of the new AVD


2. Create a New Android Project


Specify the following details...and then Click FINISH
Project Name: TestAndroid
Build Target: Android 2.2
Application Name: TestAndroid
Package Name: com.android.example
Create Activity: Eg1


3. Project and main Activity is created!

Installing Google's Android Eclipse ADT Plugin

Download and Unpack the Android-SDK:
http://developer.android.com/sdk/index.html

Installing the Eclipse - ADT plugin:
1. Open Eclipse
2. Go to HELP -> Install New Software


3. Click ADD to add the Google-ADT update site
4. Enter name: Google ADT
Enter site: https://dl-ssl.google.com/android/eclipse/


5. Click NEXT
6. Agree to Licence Agreement
7. Download and installation proceeds....
8. When prompted to Re-start click Yes.

9. NOTICE: Click on Window -> a new menu item
Android SDK and AVD Manager
10. Click Preferences ..Android Menu
11. Specify location of downloaded Android-SDK

Tuesday, June 29, 2010

Live-Android on a Netbook via USB

Instructions
1. Download UNetBootin
2. Create an installable & bootable USB medium of Live-Android
3. Enjoy Live-Android!


1. Download UNetBootin
Go to: http://unetbootin.sourceforge.net/ and choose the appropriate OS version.

2. Create an installable & bootable USB medium of Live-Android
I am running Ubuntu as my OS
Choose the appropriate distribution: Ubuntu
Diskimage ISO
Select location where you downloaded the *.iso Live-Android file (concatenated version - link to previous post http://demosmockups.blogspot.com/2010/06/live-android-on-netbook.html)
Select the drive of the USB device.
Click OK


3. Restart your computer.
Change boot options and select boot from USB device.

Thats it!


Tuesday, June 22, 2010

Tutorial: Live-Android on a Netbook

Live-ANDROID


Instructions:
  1. Install VirtualBox
  2. Install Live-Android
  3. Set-up a Live-Android VirtualBox machine
1. Download & Installation of VirtualBox:
Linux: http://www.virtualbox.org/wiki/Linux_Downloads
Right-click Save Link As...on the appropriate file (i386)

Linux: The file is saved as a *.deb file
Use either a Package manager for installation or via the command-line:
sudo dpkg -i virtualbox-3.2_3.2.4-62467~Ubuntu~lucid_i386.deb

2. Download & Installation of Live-Android
Navigate to the Live-Android download site: http://code.google.com/p/live-android/downloads/list
Download the files:
liveandroidv0.2usb.iso.001
liveandroidv0.2usb.iso.002
Open a terminal and execute the unix 'cat' commammand to produce a single *.iso image file
Unix command:

Viola! you've generated your own iso disk image of Live-Android.

3. Setting up a Live-Android Virtual Box machine:

Create a new virtual machine for running Live-Android


Select the VM Name and Operating System


Select enough Memory allocation eg: 300 MB should do!


Important UNCHECK the option Boot Hard Disk and click NEXT


A summary shot is provided:


The Live-Android iso image is now installed!


Start the Android-Mobile Virtual machine!


Your Done!